Features in nele.ai chat
The following functions are available
The audio recording feature allows you to use spoken input directly in nele.ai without having to type text. Your voice recordings are automatically converted into text and transferred to the input field.
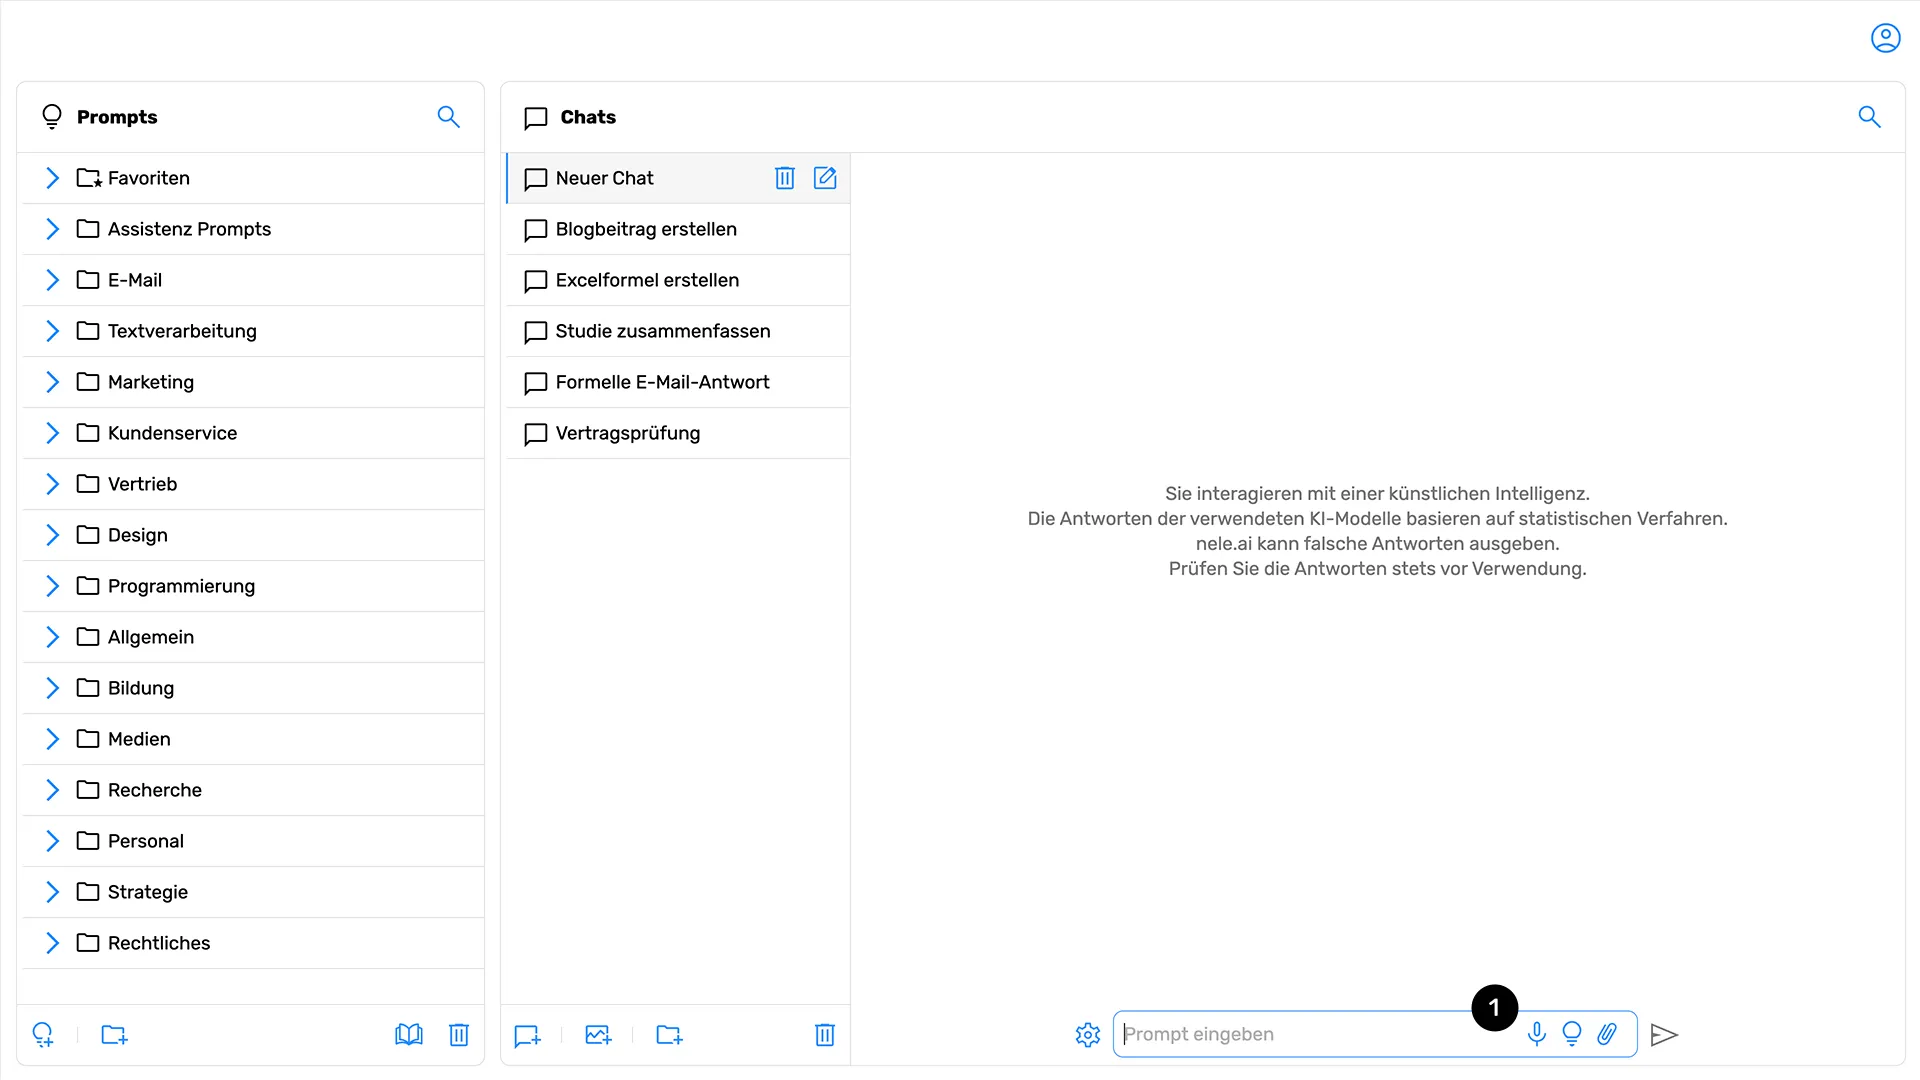
To use the audio recording function, click on the microphone icon (1) am unteren Rand des Chat-Fensters neben dem Eingabefeld oder nutzen Sie die Tastenkombination Alt+M (unter macOS Option+M). Dies öffnet das Audio-Aufnahme-Popup. at the bottom of the chat window next to the input field. This opens the audio recording popup.
Note: The microphone icon only appears if your administrator has given you access to the Azure AI speech model. The processing of a voice recording is calculated using your credits.
Create a voice recording

After opening the audio recording pop-up, you can start recording right away. Recording starts automatically as soon as the popup is opened.
During active recording, a waveform display appears (2) visible, which visually represents your voice input. In addition, a timer shows (3) Set the current recording time.
Important intake limits:
- Maximum recording time: 300 minutes
- Auto stop: Recording is automatically stopped and processed when silence is detected for 30 seconds
Recording controls
The audio recording popup offers various control options:
- Reset (4): Discards the current recording and starts a new recording
- Pause/resume (5): Pause the recording in progress or resume a paused recording. Alternatively, you can use Alt+M (Option+M on macOS) to pause or resume recording.
- Send (6): Stop recording and start transcription
The recording must be sent manually via the submit button (7) be triggered.
The send button for the chat input remains deactivated as long as the recording is still being processed.The send button for the chat input (7) remains deactivated as long as the recording is still being processed.
Automatic transcription
After you submit your recording, it is automatically transcribed by the Azure AI speech model. The transcription only takes place after the recording is complete, not live during the recording.
The transcribed text is automatically transferred to the chat input field and can be edited there if necessary before you send it to the AI as a prompt.
Voice recognition supports various languages and automatically recognizes them based on your input.
Microphone permissions on macOS
When you use the audio recording function in the desktop app on macOS for the first time, a system dialog opens in which you must grant the app access to the microphone. This permission is mandatory to use the function.
If you did not initially grant the microphone permission, you can adjust it at any time later in the system settings:
- Open your Mac's system preferences
- Go to Security & Privacy
- Select the “Microphone” section
- Enable permission for nele.ai
If you try to use the audio recording function without granted microphone permission, a message window opens automatically. It is not possible to use the recording function in the macOS desktop app without this system permission.
In the web version of nele.ai, microphone authorization is carried out using the usual browser permissions.